
The jacket pattern takes 2 3/4 yards of 45" wide fabric.
I recommend cotton broadcloth, silk jacquard, lightweight denim, and any medium-weight cloth.
Layout all pieces on the fabric, making sure to line up the grainlines parallel to the salvage. Keep in mind the upper collar is cut on the straight grain, and the under collar is cut on the bias. That is why I offer two grainlines on the pattern piece.
Fold, pin, and sew front jacket panel darts and back shoulder darts together. Do not backstitch dart ends; instead, leave a three-inch length thread and tie the ends together twice—press dart excess on the front panel towards the center front. Press the back shoulder dart excess towards the center back.

2. Add lightweight Pellon tricot fusible interfacing on the back side of the front facings and top collar pieces. Use a damp cloth to steam and adhere to the fusible interfacing.

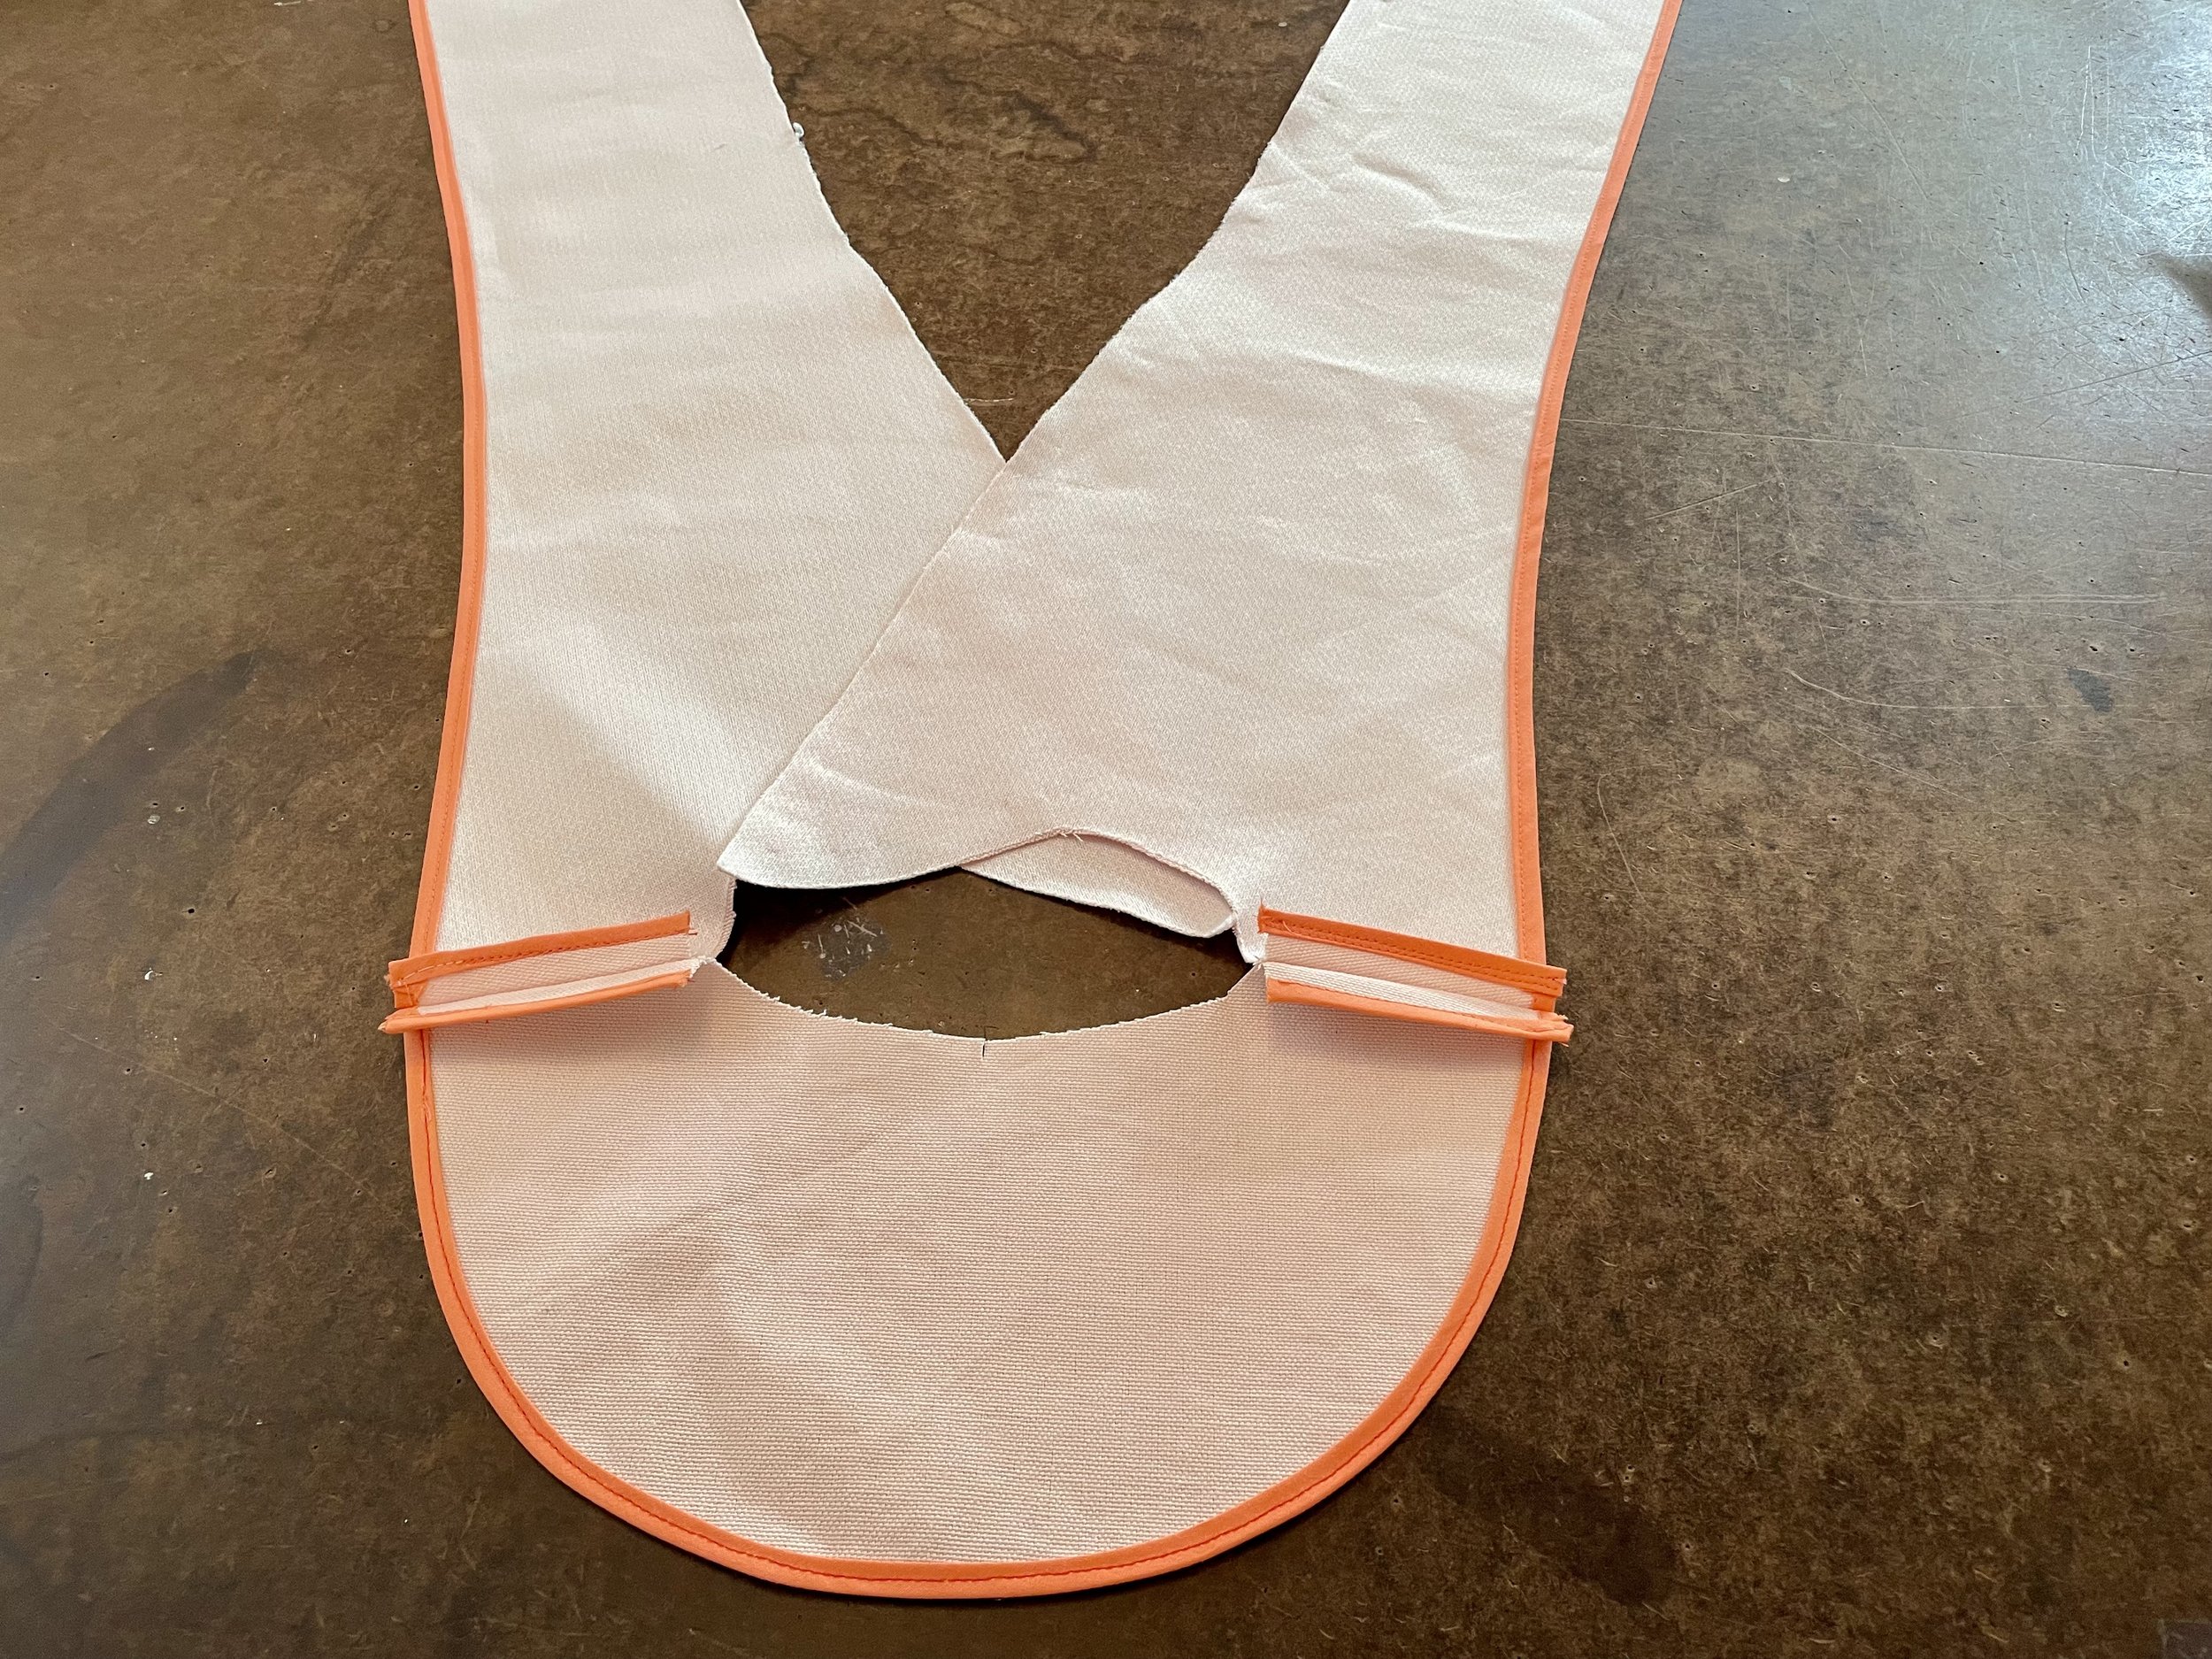
3. Attach and sew 1/4" double folded cotton bias tape to all outer pieces of each pattern piece. Check and see all areas to be bond.

4. Overlock all edges of the pocket pieces. Then, turn back the top pocket extension at the fold line and topstitch down. Turn the sides and bottom of the pocket edge 1/2" under and press.

5. Place the pockets on the front jacket's bottom area at 4" from the hem and 1 3/8" from the side seams, and top stitch it down close to the edges.

6. Right sides together, pin and sew all main pieces of the jacket together at a 1/2" seamline. Sew the shoulder seams together. Press all seams open.

7. Right sides together, sew the back neck facing and the front lapel facing together at the shoulder seams. Before doing this, make sure that you have bound all outer edges of the neck facing and lapel facing first.
8. Stitch a stay stitch at 1/2" on the top lapel areas and clip at the two corner angles.


9. Right sides together, pin and sew the top collar to the back neck and front jacket lapel area at 1/2" seam line. Pin and sew the bias collar to the back neck facing and front lapel facing. Clip and push the seam allowance upward as well.


10. Right sides together, pin and sew the top collar to the under the collar on all three sides at 1/2", making sure to correctly line up the seams at the lapel area.

11. Right sides together, pin and sew the lapel facing the lapel of the main jacket all around to the shaped hem at 1/2" seam line.

12. Trim excess seam allowance on the lapel and collar area to 1/4".

13. Turn and press all around the collar and lapel, gently pushing the point out.


14. Right sides together, pin and sew the top sleeve with the undersleeve at 1/2" seam line. Stop and back stitch at the placket extension area.

15. On the wrong side press, all seams open on the sleeve. You may add a strip of brown paper under each seam allowance area while pressing to prevent indentations on the right side of the garment. See this trick on my youtube video on the jacket.

16. Fold right sides together with the mitered corner of the sleeve placket area. Sew at 1/2" trim and turn to the right side, press.

17. Turn up the sleeve hem at 1 3/4" from the edge and press.

18. Overlap the sleeve placket extension, so they are even. Then baste the placket opening closed for the pho button placket. Do not baste it shut if you want to put buttonholes on the placket.

19. Sew the buttons of your choice on the placket area close together.

20. Slip stitch the hem inside all around. Place two rows of gathering stitches along the sleeve cap area.

21. Place each sleeve rights sides together with the jacket armhole matching all notches. Stitch at 1/2" seamline. Trim down and overlock the armhole seam allowance and steam the cap area. You may wish to apply the 1/4" double fold bias tape and bind the seam allowance edge.

22. Turn back the back neck facing and hand slip stitch the seam allowances together at the seam line to the top collar to secure it from moving.

23. Turn up the hem 1 3/4" press and pin on the inside.

24. Fold back the binding and slip stitch the hem all the way around. Note; I closed the back vent on this sample garment. If you want to keep the rear vent, refer to my YouTube video on the jacket sewing for instruction.

25. To sew the shoulder pads on, fold the shoulder pad in half and extend the rounded end 1/2" past the shoulder seam. Slip stitch the center of the shoulder pad to the seam allowance.

26. Try on the jacket and pin the overlapping placement of the buttons. You may want to use one, two, or even three buttons, and that is your choice.

27. Sew the button holes on the right side of the jacket.

28. Lay the jacket on the flat and overlap, and mark the button placements. Then sew the buttons on.
